Flooring Installation: A Comprehensive Guide for Homeowners
Upgrading flooring can change the look and function of a space. Options include hardwood, laminate, tile, or vinyl, each with different costs and durability. Considerations include lifestyle, maintenance, and design preferences. Read to learn more on upgrading your flooring.

What are the main types of flooring materials available?
When upgrading your flooring, it’s important to understand the variety of materials at your disposal. Each type of flooring offers unique benefits and suits different needs:
-
Hardwood: Known for its timeless appeal and durability, hardwood flooring comes in various species like oak, maple, and walnut. It can be solid or engineered and is ideal for living rooms and bedrooms.
-
Laminate: A cost-effective alternative to hardwood, laminate flooring is resistant to scratches and fading. It’s suitable for high-traffic areas and comes in a wide range of designs.
-
Tile: Ceramic, porcelain, and natural stone tiles are excellent choices for bathrooms, kitchens, and entryways due to their water resistance and easy maintenance.
-
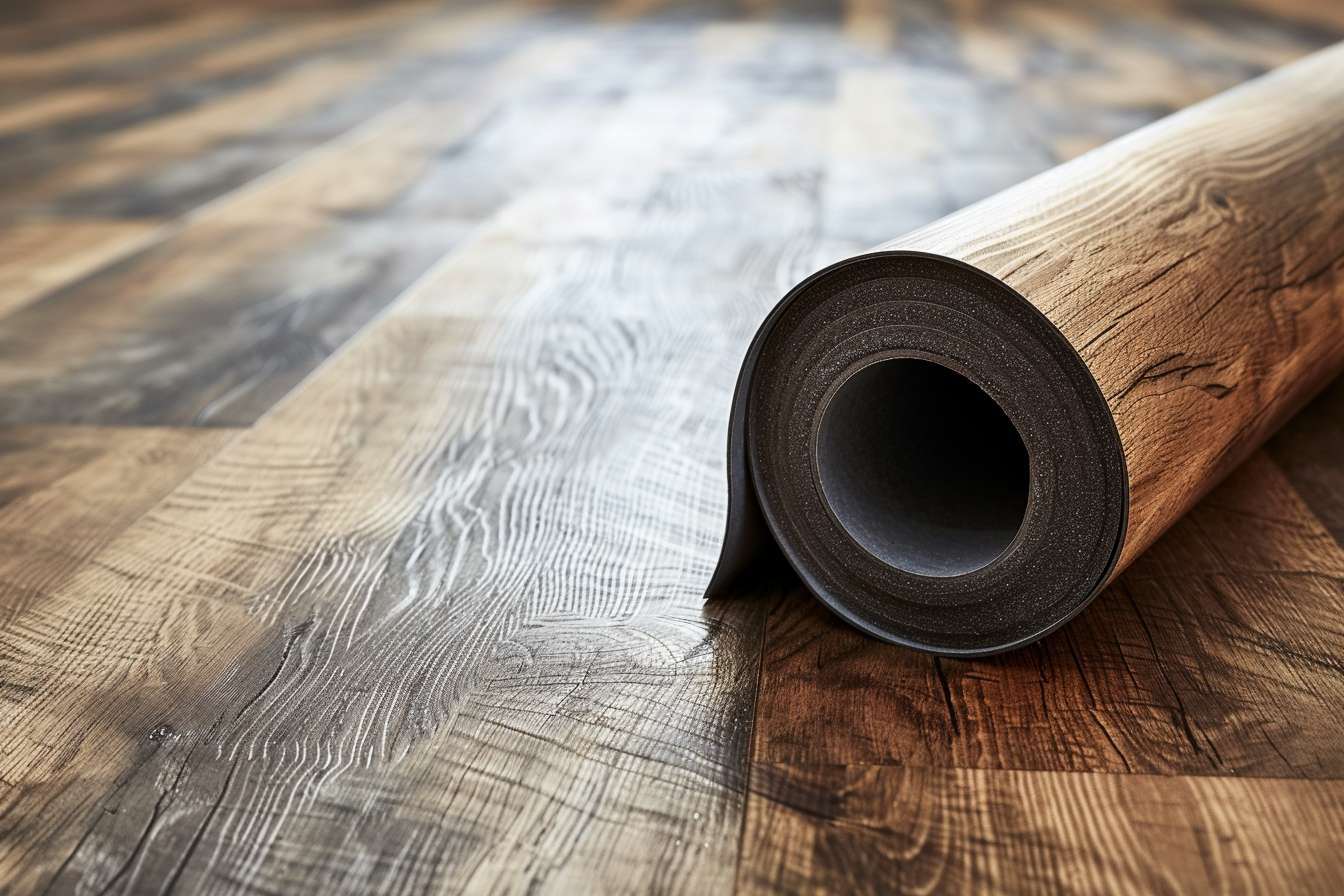
Vinyl: Available in sheets, tiles, or luxury vinyl planks (LVP), this versatile flooring option is waterproof, durable, and comes in numerous styles mimicking wood or stone.
-
Carpet: Offering warmth and comfort, carpet is a popular choice for bedrooms and living areas. It comes in various materials, pile heights, and textures.
How do you prepare for flooring installation?
Proper preparation is key to a successful flooring installation. Here are the essential steps to take before the installation process begins:
-
Clear the area: Remove all furniture, appliances, and fixtures from the room where the flooring will be installed.
-
Inspect the subfloor: Ensure the subfloor is clean, dry, and level. Address any issues like unevenness or moisture problems before proceeding.
-
Acclimate the flooring: Most flooring materials need to acclimate to the room’s temperature and humidity for 24-72 hours before installation.
-
Gather necessary tools: Depending on the flooring type, you may need specialized tools like a moisture meter, trowel, or pneumatic nailer.
-
Plan the layout: Determine the direction of the flooring and plan for any transitions between rooms or different flooring types.
What are the steps involved in flooring installation?
The flooring installation process varies depending on the material chosen, but generally follows these steps:
-
Subfloor preparation: Clean, repair, and level the subfloor as necessary. Install any required underlayment or moisture barrier.
-
Layout and measurement: Measure the room carefully and plan the layout to minimize waste and ensure a balanced appearance.
-
Cutting and fitting: Cut the flooring materials to size, accounting for obstacles like doorways, vents, and corners.
-
Installation: Apply adhesive, nail, or click-lock the flooring pieces together, following the manufacturer’s instructions for the specific product.
-
Finishing touches: Install baseboards, trim, and transition strips to complete the look and protect the edges of the new flooring.
-
Clean-up: Remove any debris, adhesive residue, or protective coverings, and dispose of waste materials properly.
How much does professional flooring installation typically cost?
The cost of professional flooring installation can vary significantly based on factors such as the type of flooring, room size, and location. Here’s a general overview of average costs for common flooring types:
| Flooring Type | Average Cost per Square Foot (Materials + Labor) |
|---|---|
| Hardwood | $6 - $12 |
| Laminate | $3 - $8 |
| Tile | $7 - $14 |
| Vinyl | $3 - $7 |
| Carpet | $3 - $6 |
Prices, rates, or cost estimates mentioned in this article are based on the latest available information but may change over time. Independent research is advised before making financial decisions.
Can flooring installation be a DIY project?
While some homeowners choose to install flooring themselves, the feasibility of DIY installation depends on several factors:
-
Skill level: Some flooring types, like click-lock laminate or vinyl planks, are more DIY-friendly than others, such as tile or hardwood.
-
Tools and equipment: Specialized tools may be required, which can be expensive to purchase for a one-time project.
-
Time commitment: DIY installation typically takes longer than professional installation and may require significant time and effort.
-
Complexity of the project: Rooms with irregular shapes, multiple transitions, or subfloor issues may be challenging for inexperienced installers.
-
Warranty considerations: Some manufacturers’ warranties may be voided if the flooring is not professionally installed.
What are the benefits of professional flooring installation?
Opting for professional flooring installation offers several advantages:
-
Expertise: Professionals have the knowledge and experience to handle various flooring types and potential issues that may arise during installation.
-
Efficiency: Skilled installers can complete the job more quickly and with fewer mistakes than most DIYers.
-
Quality assurance: Professional installation often comes with warranties on both materials and labor, providing peace of mind.
-
Proper tools and techniques: Installers have access to specialized equipment and use industry-approved methods for the best results.
-
Subfloor preparation: Professionals can identify and address subfloor issues that might not be apparent to homeowners.
Upgrading your flooring is a significant investment in your home. Whether you choose to tackle the project yourself or hire professionals, understanding the process, materials, and costs involved will help ensure a successful outcome. By carefully considering your options and preparing adequately, you can achieve beautiful, durable flooring that enhances your living space for years to come.


